

One among my favourite issues to do with my women after they have been youthful—and actually, we nonetheless do it now—is bake collectively. There’s one thing magical about mixing easy substances and reworking them right into a heat, scrumptious deal with. Seeing their little faces mild up as they discovered to crack an egg or measure flour for the primary time? Pure pleasure.
And whereas baking is unquestionably enjoyable (and attractive), it’s additionally such a good way to sneak in a little bit studying. Measuring, following instructions, persistence—all of it occurs naturally within the kitchen.
That mentioned, I perceive how overwhelming it may be to welcome little palms right into a kitchen with scorching ovens and flour in every single place. So I’ve rounded up some straightforward, kid-friendly baking recipes which are good for making collectively. They’re easy, candy, and better of all, finish with a yummy snack you all get to take pleasure in.
10 Straightforward Baking Recipes for Youngsters to Make Collectively
Banana Oat Muffins
This banana oat muffin recipe makes comfortable, calmly candy treats that principally style like a comfy little hug in muffin type. The oats add a little bit of hearty texture, and because of the bananas and honey, they keep moist and scrumptious.
They’re a type of snacks you’re feeling good handing over to your youngsters. Bananas convey the potassium and fiber, oats give slow-releasing carbs, and the cinnamon? That’s only a bonus as a result of it makes the entire kitchen scent wonderful.
I really like these for busy mornings, after-school snacks, or any time I’ve a few spotty bananas hanging round.
Substances
- 2 ripe bananas, mashed
- 1 cup rolled oats
- 1 egg
- ¼ cup honey or maple syrup
- 1 tsp baking powder
- ½ tsp cinnamon
Directions
Step 1: Preheat your oven to 350°F. Then, line a muffin tin with paper liners or calmly grease it with oil or butter.
Step 2: In a giant bowl, mash your ripe bananas with a fork till they’re good and easy. The extra brown spots, the higher—they’ll make your muffins naturally candy and flavorful.
Step 3: Add within the egg, honey (or maple syrup), and cinnamon. Then, whisk every part collectively till it’s all mixed.
Step 4: Stir within the oats and baking powder. Combine till simply mixed—don’t fear about a couple of lumps. Overmixing could make muffins dense, and we wish these to be fluffy and tender.
Step 5: Scoop the batter into your muffin cups, about ¾ full. In case your little ones need to assist, it is a enjoyable and simple step handy off.
Step 6: Bake for 15-18 minutes, or till the tops are calmly golden and a toothpick comes out clear. Allow them to cool for a couple of minutes so that they arrange properly.
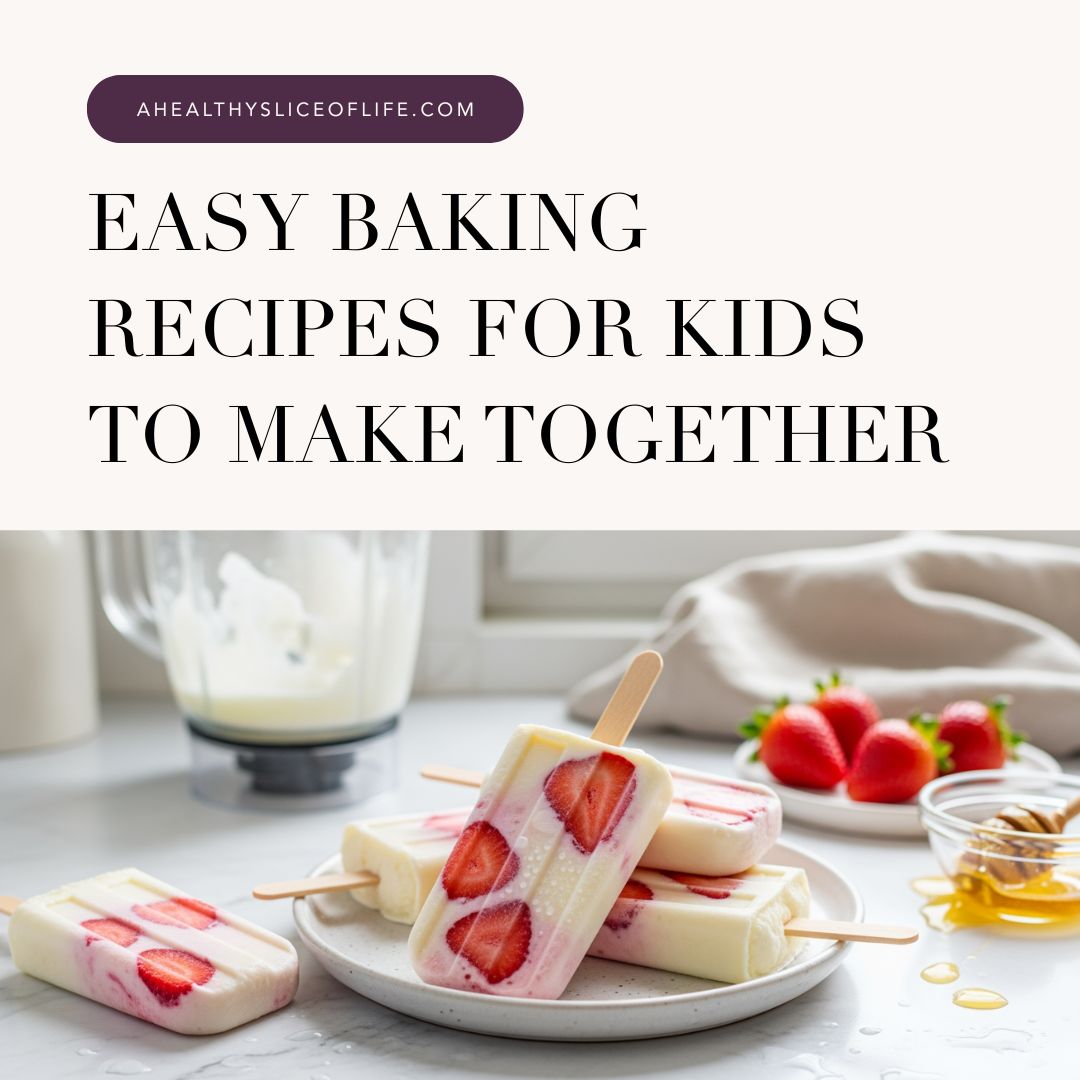
Strawberry Yogurt Pops
These Strawberry Yogurt Pops are creamy, a little bit tangy, and simply the correct amount of candy. It’s like strawberry shortcake meets frozen yogurt. They’re cool, fruity, and melt-in-your-mouth good.
They’re additionally one in every of my favourite “no-bake” recipes to make with youngsters. Just a bit mixing, pouring, and persistence whereas they freeze. Youngsters love being a part of the motion, particularly after they get to taste-test the combination earlier than it goes into the molds. And as a bonus? These pops are full of protein, probiotics, and vitamin C.
Substances
- 1 cup plain Greek yogurt
- ½ cup chopped recent or frozen strawberries
- 2 tbsp honey or maple syrup
- ½ tsp vanilla extract
Directions
Step 1: Rinse and chop your strawberries into small items. In case you’re utilizing frozen ones, allow them to thaw a bit so that they mix simply. It is a nice job for little helpers—comfortable strawberries and a butter knife are a kid-friendly combo.
Step 2: Toss the strawberries, yogurt, honey, and vanilla right into a blender or meals processor. Mix till easy and creamy.
Step 3: Style check time! That is at all times the youngsters’ favourite step. If it wants a little bit extra sweetness, add one other drizzle of honey and provides it yet one more fast mix. (That is additionally a good way to assist them observe listening to their style buds.)
Step 4: Pour the combination into popsicle molds. Don’t have any molds? No drawback. Use small paper cups and canopy them with foil earlier than sticking in a wood craft stick. If youngsters are serving to, use a measuring cup with a spout for much less mess and a better pour.
Step 5: Add sticks and pop the molds within the freezer for not less than 3-4 hours, or in a single day for those who can wait.
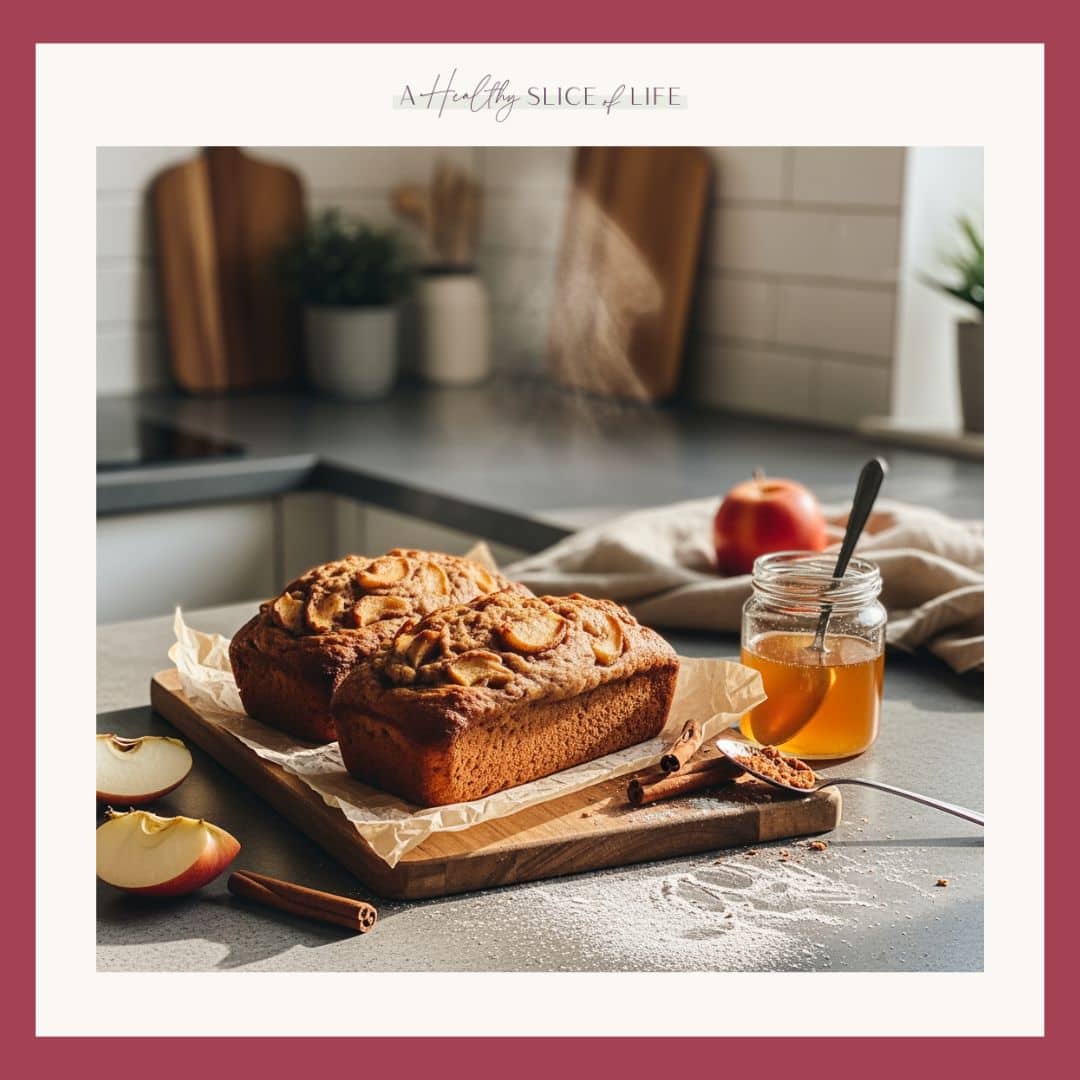
Apple Cinnamon Mini Loaves
These little loaves are comfortable, moist, and filled with cozy cinnamon goodness. Suppose: apple pie you may eat for breakfast. Every chunk has simply the correct amount of sweetness from applesauce and honey. Plus, they’ll make your complete kitchen scent like fall whereas they bake.
These use healthful substances like complete wheat flour and applesauce, which additionally means they’re decrease in sugar and excessive in fiber. They’re our go-to baking mission with the youngsters—straightforward steps, no mixer, and completely sized for little palms.
Substances
- 1 cup complete wheat flour
- ½ cup unsweetened applesauce
- ¼ cup honey or maple syrup
- 1 egg
- ½ tsp baking soda
- 1 tsp cinnamon
Directions
Step 1: Preheat the oven to 350°F. When you wait, grease two mini loaf pans or line them with parchment paper. It is a nice step for teenagers—hand them a pastry brush or paper towel with a little bit oil and allow them to assist.
Step 2: In a big bowl, whisk collectively applesauce, honey, and egg till every part is good and easy. Youngsters love this half—watching the honey swirl into the applesauce is weirdly satisfying. It’s additionally an important alternative to speak about how eggs assist baked items rise.
Step 3: In a separate bowl, stir collectively the flour, cinnamon, and baking soda. Be sure that every part is nicely combined so the cinnamon is evenly distributed.
Step 4: Pour the dry substances into the moist and gently stir till simply mixed. The batter shall be thick and scent wonderful. Attempt to not overmix—it’s tempting, I do know—however that may make the loaves dense.
Step 5: Scoop the batter into the ready pans, filling every about ¾ of the best way. A small measuring cup makes this step simpler for teenagers (and neater for everybody).
Step 6: Bake for 20-25 minutes, or till the tops are golden brown and a toothpick comes out clear. Your kitchen will scent like cinnamon apples, and it’s simply the perfect.
Step 7: Allow them to cool within the pan for 10 minutes earlier than transferring to a wire rack. Get pleasure from heat with a little bit butter or almond butter on high… or wrap them up for later.
Carrot Cake Bites
These Carrot Cake Bites are candy, spiced, and satisfying, with a comfortable, chewy texture that seems like dessert. One of the best half? It doesn’t require any baking. The flavour comes from fresh-grated carrots, heat cinnamon, and a touch of honey. And the shredded coconut provides simply the correct amount of sweetness.
They’re an important recipe to make with youngsters as a result of there’s no oven, no ready, and no actual solution to mess them up. All the pieces mixes collectively in a single bowl, which suggests much less cleanup (hooray!), and forming the bites is ideal for little palms.
Substances
- 1 cup grated carrots (about 2 medium carrots)
- ½ cup almond flour
- 2 tbsp honey
- ¼ tsp cinnamon
- ¼ cup shredded unsweetened coconut
Directions
Step 1: Begin by peeling and grating your carrots utilizing a fantastic grater. It is a enjoyable job for older youngsters who can deal with a grater safely, or little ones might help by holding the bowl regular.
Step 2: In a medium mixing bowl, add the grated carrots, almond flour, cinnamon, honey, and half of the shredded coconut. Then, stir every part along with a spoon till it varieties a thick, barely sticky dough. It ought to maintain collectively whenever you press it between your fingers.
Step 3: If the combination feels too moist, sprinkle in a little bit extra almond flour. Or, if it’s too dry, add an additional drizzle of honey.
Step 4: Scoop small parts of the dough (a couple of tablespoon every) and roll them between your palms to make bite-sized balls. Attempt to make them roughly the identical dimension so they appear uniform when plated.
Step 5: Pour the remaining shredded coconut right into a shallow bowl or plate. After that, roll every ball within the coconut till it’s evenly coated.
Step 6: Place the completed bites on a plate or small tray and refrigerate them for not less than Half-hour. That is what helps them agency as much as that good texture! Then, retailer your carrot cake bites in an hermetic container or within the fridge for as much as 5 days.
No-Bake Oatmeal Cookies
These No-Bake Oatmeal Cookies are chewy, chocolatey, and simply candy sufficient. Suppose brownie bit meets granola bar. They’ve bought that wealthy cocoa taste, balanced completely with creamy peanut butter, and the oats give them a hearty texture.
What I really like most about them? They’re ridiculously straightforward. No oven. No mixer. No drama. Simply combine, roll, and snack. Plus, they’re filled with energy-boosting substances, making them nice for after-school snacks, lunchboxes, or these “hangry” moments between actions.
Substances
- 1 cup rolled oats
- ½ cup peanut butter (creamy works finest)
- ¼ cup honey
- 2 tbsp unsweetened cocoa powder
Directions
Step 1: In a medium bowl, stir collectively the peanut butter, honey, and cacao powder. In case your peanut butter is tremendous thick, heat it within the microwave for 20 seconds to assist it combine extra simply.
Step 2: Add the oats and blend till every part’s coated and sticky. The combination needs to be thick however workable.
Step 3: If it feels too dry, add a tiny drizzle of honey or peanut butter. Too moist? Sprinkle in a couple of oats. It’s an important hands-on approach for teenagers to learn the way substances work collectively.
Step 4: Scoop out small spoonfuls (a couple of tablespoon every) and roll them into balls. This half is tremendous enjoyable for teenagers, particularly after they get a little bit messy.
Step 5: Place the cookies on a parchment-lined plate or tray, then pop them within the fridge for about an hour to agency up.
Blueberry Breakfast Bars
These Blueberry Breakfast Bars are every part I need in a morning chunk. They’re comfortable, candy, and stuffed with juicy berries in each single chunk. They’re form of like if a blueberry muffin and a granola bar had a child. The oats give them that hearty, cozy texture, and the almond flour retains them tender and crumbly.
That is a type of “let the youngsters assist” recipes I attain for occasionally. No mixer, no chilling, no sophisticated steps—simply combine, press, bake, and carried out. My women love watching the blueberries swirl via the batter. As for me, I really like having a batch of those able to seize for varsity lunches or a quick breakfast with some fruit and yogurt.
Substances
- 1 cup rolled oats
- ½ cup almond flour (or complete wheat flour)
- ¼ cup honey
- 1 egg
- ½ cup recent or frozen blueberries
Directions
Step 1: Preheat the oven to 350°F and line an 8×8-inch baking dish with parchment paper. Go away a little bit further over the edges so you may raise the bars out simply as soon as they’re baked.
Step 2: In a big bowl, whisk the egg and honey till easy. This helps give the bars that comfortable, chewy texture.
Step 3: Add the oats and almond flour, and stir every part collectively till every part is nicely mixed. The combination shall be thick and a bit sticky, which is excellent.
Step 4: Fold within the blueberries. In case you’re utilizing frozen berries, toss them straight from the freezer—no have to thaw. As you stir, the batter turns swirly shades of purple and blue, making it seem like edible artwork for the youngsters.
Step 5: Scoop the combination into your ready pan and press it down with a spatula (or clear palms). You need it to unfold evenly so every part bakes on the similar time. I normally give the youngsters the job of “smoothing out the bumps.”
Step 6: Bake for 20-22 minutes, or till the sides look golden and the middle is about. Your kitchen will scent wonderful. If you’re able to serve, let the bars cool utterly earlier than slicing. This helps them maintain collectively whenever you minimize them into squares or bars.
Chocolate Chip Chickpea Blondies
Okay, hear me out—chickpeas in dessert. I do know it sounds a little bit on the market, however belief me on this one. These Chocolate Chip Chickpea Blondies are comfortable, candy, and style like gooey cookie dough in bar type. And the perfect half? You’d by no means guess they’re flourless and full of protein and fiber. Whole mother win!
They’re one in every of my go-to recipes after I need one thing candy readily available however don’t really feel like navigating a sugar crash. And since there’s no uncooked flour or eggs, your youngsters can lick the spoon (and they’re going to!). It’s additionally a simple one to make collectively since many of the magic occurs within the blender.
Substances
- 1 can (15 oz) chickpeas, drained and rinsed
- ¼ cup peanut butter (or almond butter)
- ¼ cup honey
- 1 tsp vanilla extract
- ½ tsp baking powder
- ¼ cup chocolate chips (plus a couple of further for sprinkling)
Directions
Step 1: Preheat your oven to 350°F and line an 8×8-inch pan with parchment paper. (Professional tip: depart a little bit overhang so you may raise them out simply later.)
Step 2: Add the chickpeas, peanut butter, honey, vanilla, and baking powder to a meals processor. Then, mix till it’s all easy and creamy. Pause to scrape down the edges if wanted.
Step 3: As soon as every part is mixed, stir within the chocolate chips by hand. This retains them from melting too early. Afterwards, let the youngsters sprinkle in a couple of further and sneak a style—it’s completely secure to pattern.
Step 4: Scoop the batter into your ready pan and easy it out with a spatula. My favourite hack? Add a couple of extra chocolate chips on high for that bakery-style look. My women like to press them in one after the other, like they’re adorning a masterpiece.
Step 5: Bake for 20-25 minutes, till the highest is about and the sides are calmly golden. Your kitchen will scent like a chocolate chip cookie dream.
Step 6: Let the blondies cool for not less than 10 minutes earlier than slicing. They’ll agency up as they sit, so that you get that good soft-meets-fudgy chunk.
Candy Potato Brownies
These Candy Potato Brownies are gooey, wealthy, and full-on chocolatey. And sure, they’ve bought a veggie hiding inside. Don’t fear—nobody will ever know. The candy potato offers them a naturally easy texture and simply the correct amount of sweetness. Then, the almond butter and cocoa powder convey the fudge issue.
I really like baking these with the ladies once we desire a candy deal with with out the sugar crash. Plus, they’re full of fiber, vitamin A, and wholesome fat. So, if one finally ends up changing into breakfast on a busy college morning, I’m not mad about it.
Substances
- 1 cup mashed candy potato (about 1 medium cooked candy potato)
- ¼ cup unsweetened cocoa powder
- ¼ cup almond butter
- 1 tsp vanilla extract
- ¼ cup honey
Directions
Step 1: Preheat your oven to 350°F and line an 8×8 baking pan with parchment paper. This makes cleanup simpler and helps the brownies raise out in a single piece.
Step 2: In case you haven’t already cooked your candy potato, roast it within the oven or microwave it till fork-tender. Then mash it up with a fork till it’s easy and creamy.
Step 3: In a big mixing bowl, stir collectively the mashed candy potato, almond butter, honey, and vanilla till easy. The combination ought to look shiny and thick. This step is tremendous forgiving, so let the youngsters take over with the spoon.
Step 4: Add the cocoa powder and provides it one other good stir till every part’s nicely mixed. The batter shall be thick (just like cookie dough!) and oh-so chocolatey.
Step 5: Unfold the batter into your ready pan, smoothing it out with a spatula. Be sure that to press it into the corners for even baking. And, if you wish to degree it up, sprinkle chocolate chips on high earlier than baking.
Step 6: Bake for 25-Half-hour, or till the sides are set and the middle feels firm-ish to the contact. Don’t overbake! These are purported to be comfortable and fudgy.
Step 7: Allow them to cool within the pan for not less than 10 minutes earlier than slicing. This helps them maintain their form.
3-Ingredient Peanut Butter Cookies
These Peanut Butter Cookies are comfortable, chewy, and wealthy with that traditional salty-sweet taste combo. They’ve bought simply the correct crisp edges and buttery, melt-in-your-mouth heart that makes them straightforward to like.
Additionally they occur to be the best cookie recipe ever. No flour, no mixers, no lengthy ingredient record. Simply three pantry staples and a little bit little bit of time. They’re one in every of my favourite cookies to bake with the ladies as a result of the steps are easy and the cleanup is minimal.
Substances
- 1 cup peanut butter (creamy or crunchy—each work!)
- ½ cup sugar (white or coconut sugar for a much less refined choice)
- 1 egg
Directions
Step 1: Preheat your oven to 350°F and line a baking sheet with parchment paper. Whereas the oven’s heating up, let your little helpers arrange their baking “stations.”
Step 2: Add the peanut butter, sugar, and egg right into a mixing bowl. Stir every part collectively till it varieties a thick, shiny dough.
Step 3: Scoop out small spoonfuls of dough and roll them into balls about 1 inch vast. House them a few inches aside in your baking sheet.
Step 4: Now for the perfect half: the crisscross! Hand over a fork and let the youngsters gently press into every dough ball, first a technique, then the opposite. This flattens the cookies a bit and offers them that traditional peanut butter cookie look.
Step 5: Bake for 10 minutes, or till the sides are calmly golden and the tops look set. Don’t fear in the event that they nonetheless really feel comfortable; they’ll agency up as they cool. Allow them to relaxation on the pan for about 5 minutes earlier than transferring to a cooling rack.

Mini Mug Truffles
These Mini Mug Truffles are a type of little life hacks each busy mother wants in her again pocket. They’re fast, customizable, and are available along with only a mug and a microwave.
Every one turns right into a heat, single-serve cake that seems like a private deal with. You may make them vanilla, chocolate, and even sprinkle-filled “birthday cake” fashion—let your youngsters’ imaginations run wild! Plus, they’re a good way to sneak in some measuring and mixing observe.
Substances
- 4 tbsp flour (complete wheat or all-purpose)
- 2 tbsp sugar
- 2 tbsp milk
- 1 tbsp melted butter or oil
- ¼ tsp baking powder
- 1 tsp cocoa powder (elective—for chocolate model)
- Non-compulsory add-ins: sprinkles, chocolate chips, vanilla extract, cinnamon, honey
Directions
Step 1: Seize a microwave-safe mug (about 8-10 oz). This shall be your mixing bowl and your baking pan. Let your baby decide their favourite—it makes it really feel much more particular.
Step 2: Add the flour, sugar, and baking powder to the mug. And, for those who’re making a chocolate Mug Cake, don’t neglect to stir in cocoa powder. Use a fork or a small whisk to mix every part collectively.
Step 3: Pour within the milk, melted butter or oil, and a splash of vanilla for those who’re utilizing it. Stir till easy and thick, form of like pancake batter.
Step 4: Right here’s the place it will get enjoyable. Let every child create their very own taste:
- Birthday Cake: Stir in sprinkles
- Chocolate Lover: Add chocolate chips
- Cinnamon Swirl: Sprinkle with cinnamon and a little bit honey
It’s like their very own little cake lab to experiment in.
Step 5: Microwave on excessive for 60-90 seconds. Watch intently—it’ll puff up like magic! The highest ought to look set however nonetheless comfortable. If it’s gooey within the center, add a further 10 seconds at a time.
Step 6: Let it cool for a minute (it’ll be scorching!). Then add whipped cream, chocolate drizzle, or a couple of berries on high. Completely elective—however completely enjoyable.
The right way to Bake with Youngsters
Arrange a “child baking station.”
Earlier than you dive in, take a minute to collect every part your little baker will want. I’m speaking a couple of mixing bowl, measuring cups, a whisk, and all of the substances. Then, simply set them out in a single spot.
Giving your youngsters their very own “baking station” not solely makes them really feel like a professional, however it additionally helps hold the mess (considerably) beneath management. Bonus: it makes cleanup approach simpler afterward!
Choose age-appropriate duties.
Give your baby a job that matches their age and stage. It builds confidence and retains issues working a little bit however extra easily.
- Toddlers might help with pre-measured substances or stirring (very gently!).
- Preschoolers are nice at cracking eggs, scooping batter, or utilizing cookie cutters.
- Older youngsters can tackle larger duties like studying the recipe, measuring, and utilizing the oven—together with your supervision, in fact.
Irrespective of their age, they’ll really feel proud to assist out and be a part of the method.
Embrace the mess.
Flour will fly. Batter would possibly find yourself on elbows. And actually? That’s half the enjoyable.
Earlier than you get began, lay down a baking mat or a sheet of parchment paper to assist catch the mess. Additionally, hold a moist material inside attain for fast wipe-ups. Even for those who don’t use it, you’ll be glad it was there. And don’t stress the spills—let your youngsters understand it’s completely okay to get messy. Then make tidying up a part of the routine (bonus factors for those who flip it right into a sport!).
Have fun the consequence—good or not.
So what if the cookies are a little bit lumpy or the muffins sink within the center? Have fun each chunk. Snap a photograph, do a enjoyable little style check, and chat about what you would possibly tweak subsequent time. It’s all a part of studying—and laughing—collectively within the kitchen. As a result of ultimately, it’s not about picture-perfect outcomes. It’s about making candy reminiscences that stick.
Get the youngsters concerned within the kitchen with straightforward, kid-friendly recipes.
A few of my favourite reminiscences from childhood? Baking with my mother within the kitchen. I can nonetheless image the flour on the counter, egg shells within the sink, and the scent of one thing candy within the oven. Plus, I’ll at all times bear in mind how proud I felt as I cracked my first egg.
Nowadays, there are such a lot of blogs, Pinterest posts, and enjoyable concepts floating round on-line. It’s simpler than ever for mothers to seek out easy, kid-friendly recipes to strive with their little ones. And really, it’s not simply in regards to the deal with on the finish—it’s the time collectively that youngsters will love most.
Need much more straightforward recipe concepts to strive together with your kiddos? I’ve rounded up a couple of of my favorites under: